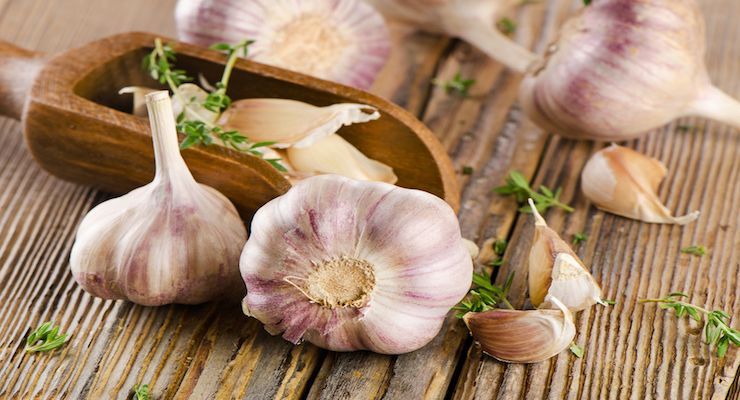
Garlic, the foe of vampires, giver of bad breath and…superfood? This odorous bulb is well known for its potent antibacterial properties and has been utilized for thousands of years as a powerful healing agent to ward off infection and boost immunity. Though many of its fabled health benefits are rooted in myth and legend, much research has been conducted to prove the veracity of anecdotal claims surrounding this ancient remedy.
Health benefits of garlic
As one of the most well-researched superfoods, garlic has quickly risen to a place of prominence in the medical world for its many benefits. Most of these health properties come from the sulfuric components garlic including allicin, diallyl disulfide, and s-allyl cysteine.
- Limit risk of heart disease
- Cancer prevention
- Improve immune system function and prevent common cold
- Lower high blood pressure
- Regulate blood sugar levels
Growing garlic indoors
While growing this allium outdoors is possible, the long waiting process can become tiresome as garlic generally takes nine months to reach full maturity. However, when garlic is planted indoors, you can harvest the delicious greens every 7-10 days under the proper conditions. These greens, or the offshoots of the garlic bulb, are not so potent as what lies under the soil, but can still serve as a delicious, flavorful addition to many meals. Plus, you can still reap full health benefits from the hearty sprouts.
Given enough time, you can eventually pull up the entire plant and enjoy the fresh garlic head grown right from home.
Step 1: Pick your container
As with any plants grown in pots, it is essential that you choose a container with appropriate drainage holes. If you decide to plant in a recycled container such as a can or plastic bucket, you can drill holes yourself. Because garlic is a root vegetable, it is vital that water does not sit in the bottom of the pot and cause the bulb to rot.
For optimal bulb development, locate a container that is 8-10 inches deep (or deeper) and provides enough space for garlic cloves to be spread 4 inches apart if you are planting multiple in one pot. This is less of an issue if you are growing garlic only for its green sprouts, as the cloves do not require as much space.
Step 2: Choose your soil
Simply filing your container with an adequate potting soil mix is sufficient for healthy garlic growth. However, to ensure success, you can mix in a granular fertilizer that will deliver important nutrients to your young garlic plants.
Step 3: Planting
Any garlic head will produce a bountiful harvest, though it is important to note that in order to grow certified organic garlic, you should buy bulbs from your local nursery or organic farmer.
Keeping the paper-like wrapper on, separate individual cloves of garlic and push them, flat end down, into the soil, at least 2-3 inches. Water well to moisten the soil.
Step 4: Placement
Since you are growing indoors, you have the luxury of choosing where you will locate your garlic plant. Place it somewhere that receives at least 6 hours of direct sunlight per day, optimally on a windowsill or ledge.
Consider how much garlic you are growing. For instance, if you have over five pots, it may be beneficial to invest in an artificial grow-light system that will ensure proper lighting conditions.
Step 5: Watering
Water garlic plants regularly, keeping the soil moist but not drenched. If you notice sitting water in your pots, check drainage holes for any blockage.
Step 6: Harvest
You will be able to harvest garlic greens once they are 4-6 inches tall. Healthy plants should each this height in under two weeks. Snip off greens, leaving about an inch of growth, and use in your favorite recipes.
Bulbs will take just under a year to grow, but after 8-10 months you should notice the green shoots beginning to turn brown and wither. Pull the entire plant out of the pot and gently shake off loose dirt. Layout garlic bulbs on newspaper and let dry for a least a week before enjoying.
Happy planting!
-Susan Patterson

