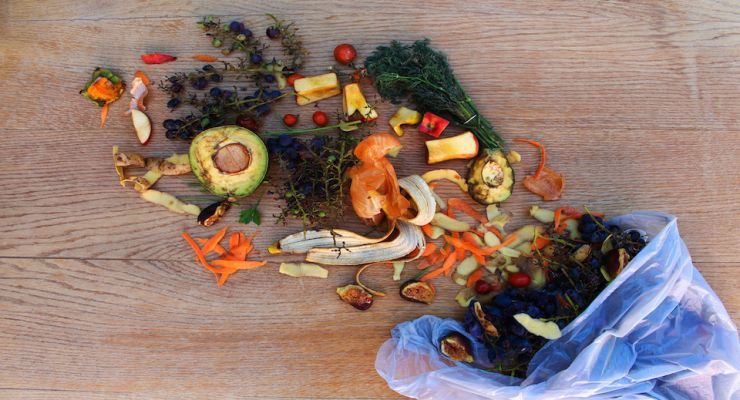
Rich compost is often referred to as the “black gold” of the garden, and with good reason! Compost can enrich your soil, add much-needed nutrients and help your plants grow strong and healthy. The average household produces a whopping 200 pounds of organic kitchen waste each year that is often wasted by being sent to a landfill.
Composting doesn’t simply mean tossing all of your waste into a big pile and hoping for the best. There are steps you must take to ensure that the microorganisms are working properly to breakdown the material. It can be a little confusing at first to figure out how to get started with your own compost bin. Follow these 5 simple steps to begin composting today.
- Select a compost bin
Obviously, before you can begin collecting those precious kitchen scraps, it is important to have a designated area to put them. You can purchase a premade bin at most home improvement or garden stores, make your own, or simply allow your compost to form a pile on the ground. There are benefits to each method, and ultimately, the choice is yours based on your garden needs and personal preference. With a premade compost bin, you can easily set it up and begin composting right away. Plus, these bins keep in the heat and reduce any smell that might accumulate. However, if you are composting a large amount of organic material, it may be more practical to go with the pile option.
- Select an ideal location
Before you place your bin, it is essential that you think of it as a permanent location. Once you have established a compost area, it will be difficult to move until you are ready to mix your composted material into the garden. Try to place it on a flat, level area that will have no risk of coming into contact with standing water. Also, keep in mind that you will have to access your bin even in the winter months when there may be snow on the ground.
- Alternate material
Simply throwing whatever you want into your compost pile at any time doesn’t exactly guarantee success. Start your pile with a layer of twigs or other harder materials on the bottom to allow for appropriate airflow and drainage. Follow this with a thick layer of brown leaves (it may be helpful to start composting in the fall). Then, as you continue composting, alternate layers of “browns” (carbon-rich material) that help add bulk and create airflow with layers of “greens” (nitrogen-rich material) that help encourage microorganism growth and “heat up” the pile. This will help the waste decompose into beautiful, nutrient-rich soil for your garden.
Greens:
These materials are rich in nitrogen and make excellent compost.
- Green leaves
- Flowers
- Garden waste
- Vegetables
- Fruit peels
- Coffee grounds
- Tea bags/leaves
- Animal manure (not cat or dog)
Browns:
These materials help encourage compost breakdown and prevent a stench from forming.
- Dried leaves
- Paper products (shredded)
- Dried pine needles
- Bark
- Coffee filters
- Dryer lint
- Straw
- Cardboard (broken into small pieces)
- Cornstalks
- Sawdust
- Collect kitchen waste as it accumulates
Engineer some sort of indoor storage bin that can serve as a temporary collection area for your kitchen waste. Make it easily accessible so that you will be encouraged to compost as much as possible. Remember: when you add these “greens” to the pile, you will need to add “browns” as well to balance it out. Always stir your new compost into the pile with a shovel to help integrate it and encourage decomposition.
- Harvest your compost
After around 4-6 months (depending on the amount of material you were able to compost) you will be left with a lovely, dark soil. If you have composted properly, you shouldn’t be able to recognize any of the specific items.
Don’t stress out if your compost pile doesn’t look like everyone else’s or isn’t decomposing as fast as you want it to. Composting leaves a lot of room for error, and it’s easy to recover from any rookie mistakes. If your pile isn’t heating up, simply add more greens, if it’s starting to smell and talking forever to decompose, all you have to do is add some more browns. Figure out what works best for you and enjoy your black gold.
-Susan Patterson

